Introduction
Note: To use Medialib, first you need to install python 3 and then pygame. Visit our Get Started page for more information.
This tutorial was designed for university students from non-technical background who don’t have programming experience and contains exercises related to Medialib with not too difficult maths content. There are 3 hours of practical content suggested being used across two sessions.
Currently, Medialib is used in the Introduction to Computer Science Module for MSc Business Analytics (since 2021) and Master of Data Science (since 2022) at Durham University.
All of the examples in this tutorial can be downloaded from the Gallery.
Practice 1
Practice 1-1
Learning Objectives
We are going to learn:
- How to use the function defined by other's library.
- Some void functions defined in medialib.
Introduction to MediaLib
First, let's draw some images:
- Open the program example.ipynb/example.py.
- Can you “read” this program?
- What do you think happens in line 7?
- And in line 9?
- What happens in line 11?

draw("images/cake.png",100,150)
wait(0.5)
draw("images/cake2.png",180,155)
Remember to “stop” the program after you are done.
Anatomy of Python commands
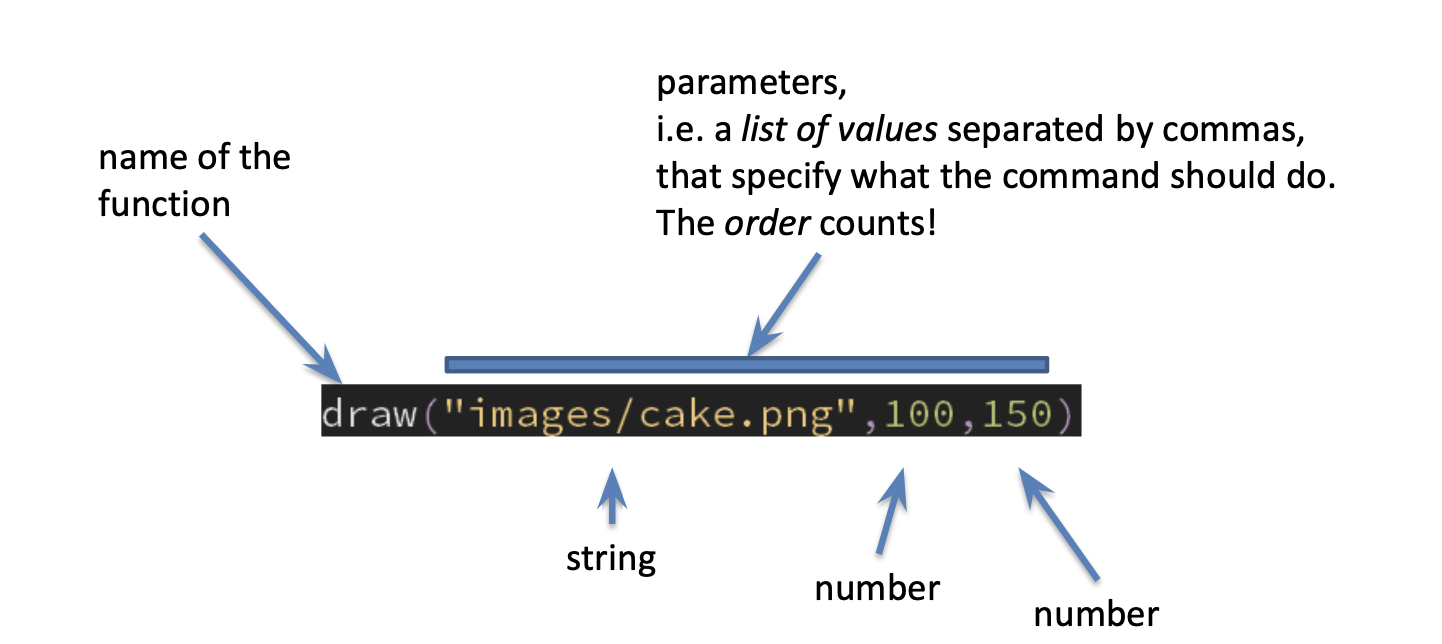
If you look at the documentation, you will see the names for the parameters: e.g. draw(imgFileName,x,y). The names explain what the parameters are or do.
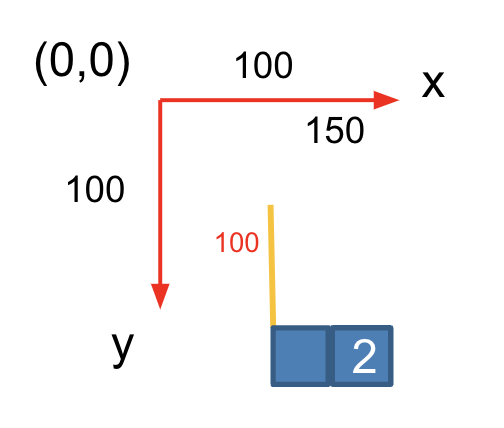
The coordinate system
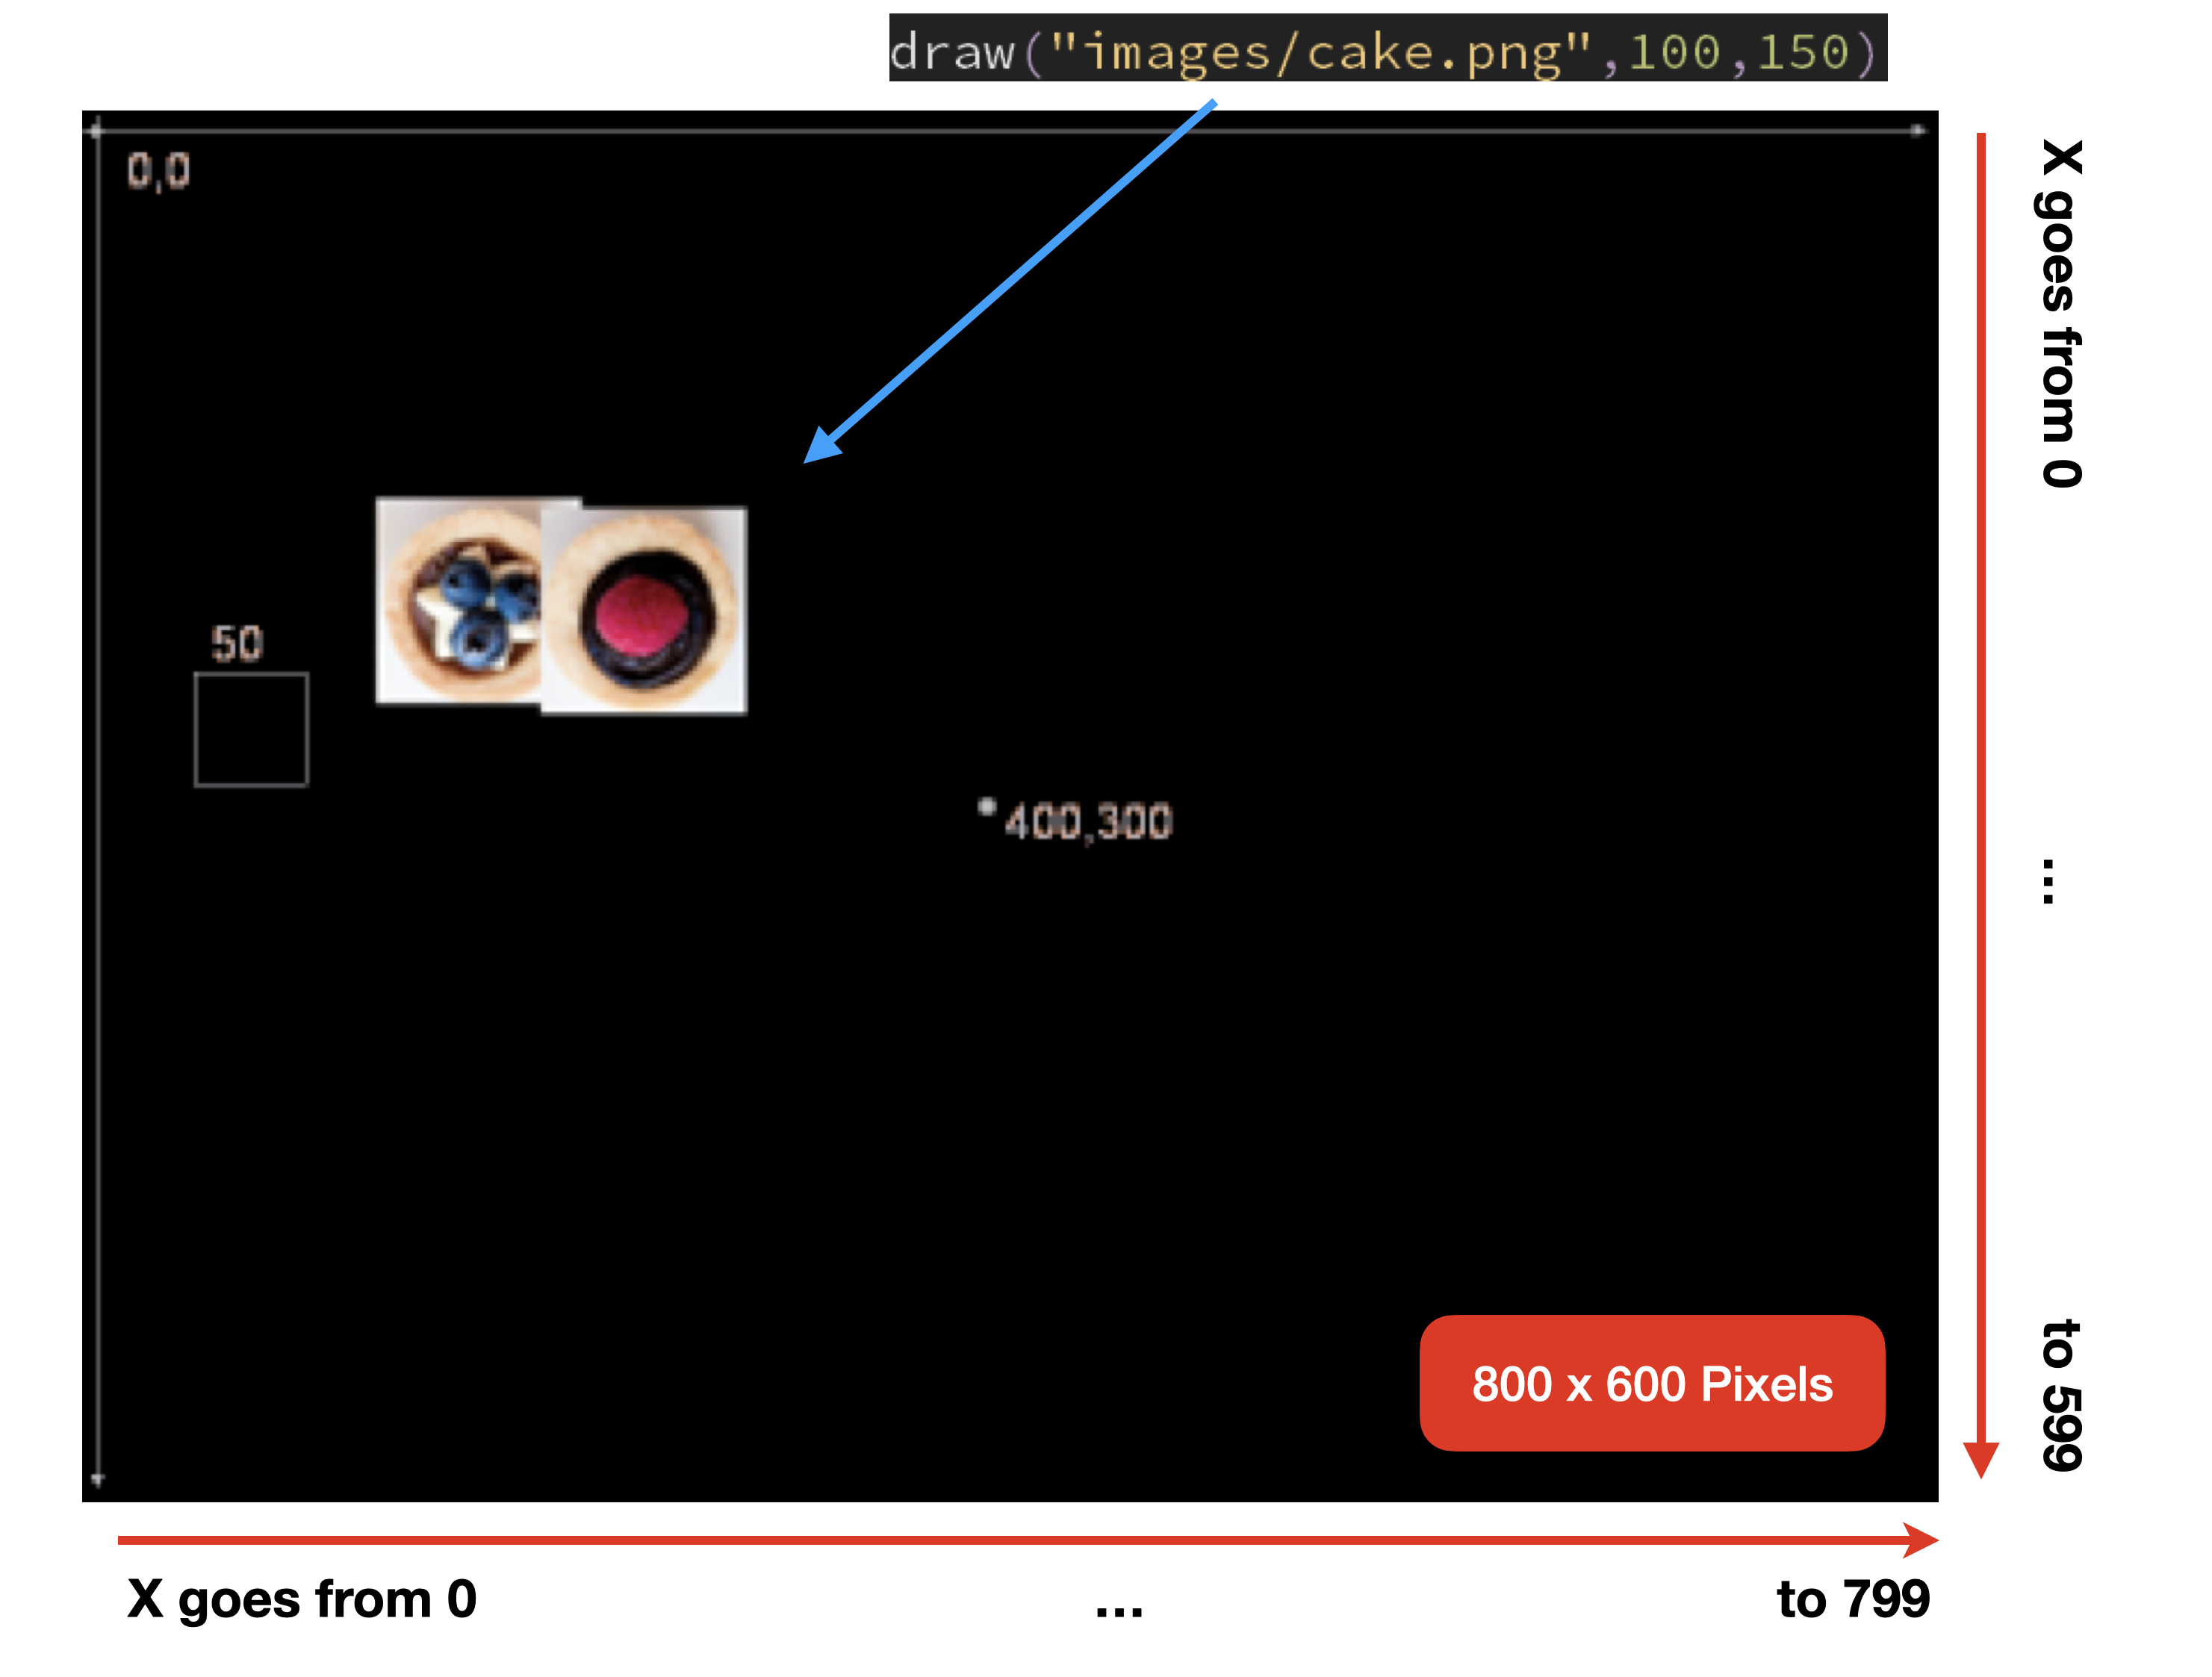
Reading the code
import- is for using a library, code written by someone else. Here we want
import medialib.pyso we can use the commands in that program, to draw on screen (for example).
- is for using a library, code written by someone else. Here we want
draw- given the name of an image file, and 2 numbers (X and Y coordinates), draws the image at that position. The top-left corner of the image will be at point (x,y).
wait_mouse_leftclick()- blocks the program until the user presses the left mouse button.
text- takes a message, 2 numbers (i.e. coordinates) and the size of the font, and writes the message at the given coordinates.
clear- Clears the drawing window. The default background color is black.
all_done- Don’t forget to have this command at the of all your programs that use the medialib. This command closes the graphic window.
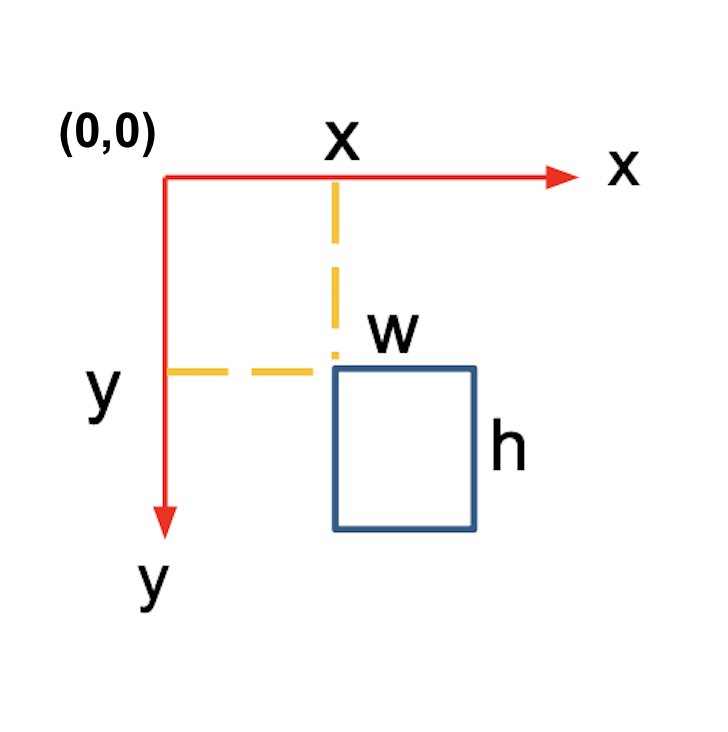
See the documentation for more detailed information.
Exercises
Exercise 1
Copy and paste all the code from example.ipynb/example.py into the new file (CTRL+C then CTRL+V in the new file) then save the new program with name: morecakes.ipynb/morecakes.py
Now: modify the program in morecakes.ipynb/py:
-
so that the 2 cakes are side by side, and with more space between them, like this:

- and place another cake (strawberry_cake.png) at another position on the screen. Can you place it in the center?
Exercise 2
Open the file practice1_for learner.ipynb.
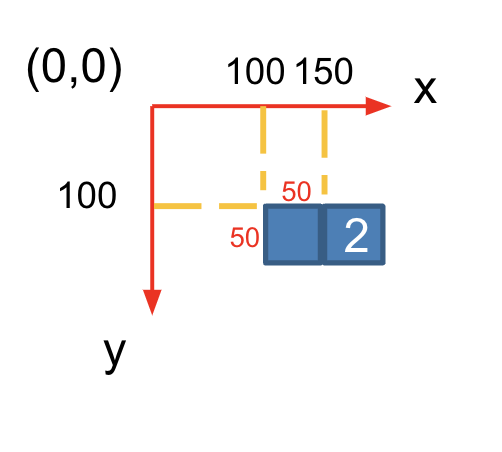
- Move both eye.png and eye2.png 50 pixels downwards and pause the control flow of the program until the mouse's left button is pressed.
- Move both eye.png and eye2.png 50 pixels going towards the right and pause the control flow of the program until the mouse's left button is pressed.
- Use variables to make the code more readable.
- Try to define a function yourself to further improve the readability of the previous code.
- Try to change
print()totext()and see what happens.

Practice 1-2
Learning Objectives
We are going to learn:
- How to use variables to make the code more readable.
- How to define a function yourself.
- How to define a fruitful function.
- How to modify a fruitful function when the requirement changes.
The rect() function
rect(x,y,w,h,r=None,g=None,b=None)
Similar to draw(...). This function draws a rectangle from the point (x,y) to the
point (x+w,y+h).
By default the rectangle border and inner area are white, but a color can be specified (in RGB format).
Example: rect(10,15,100,120)
Reminder: the top-left corner of the screen is at (0,0).

Exercises
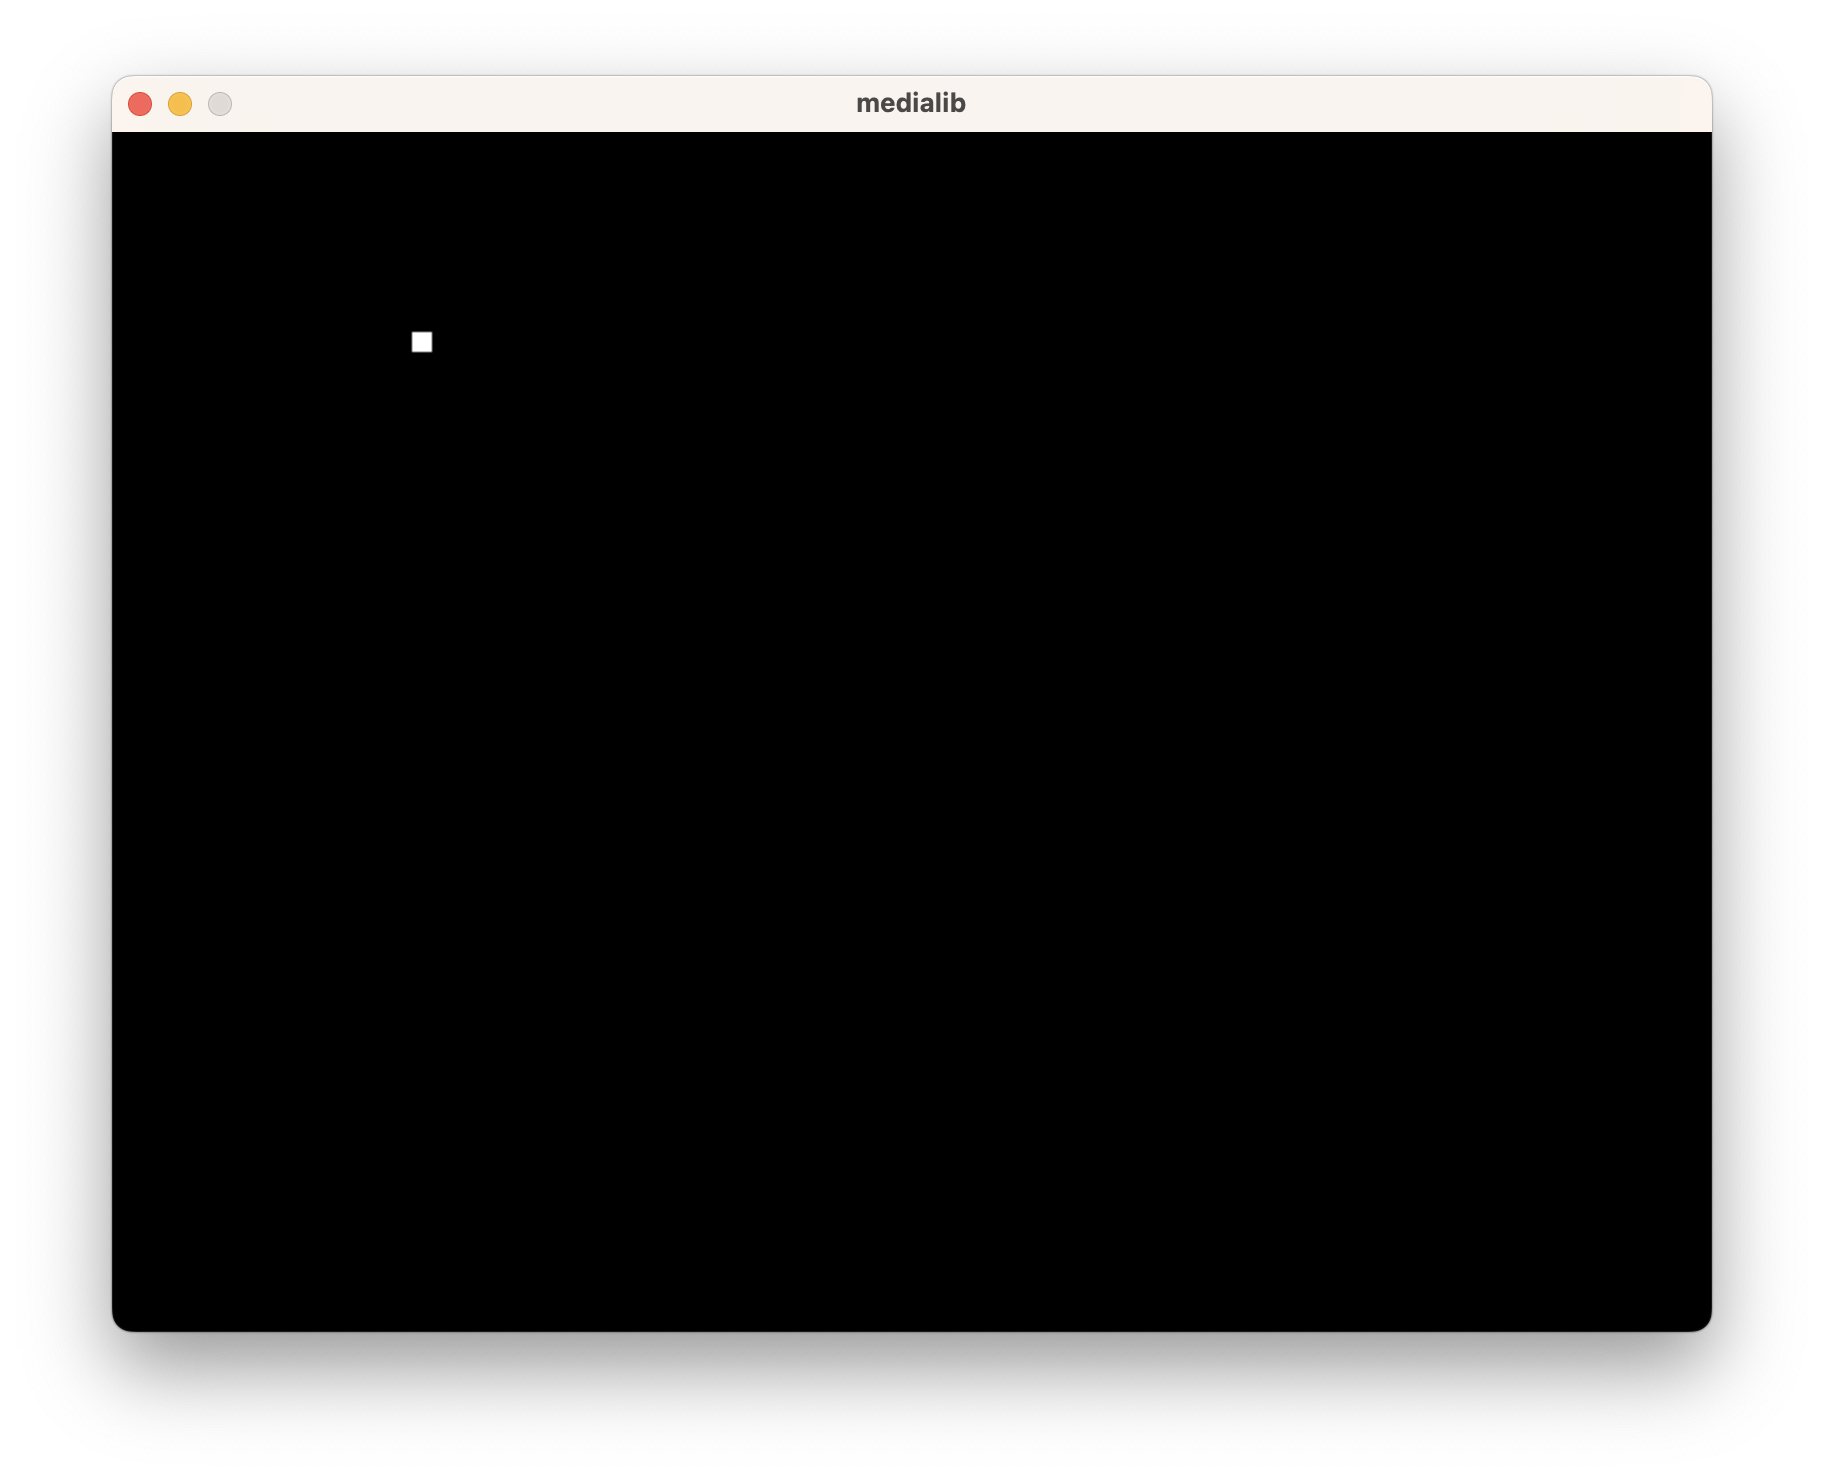
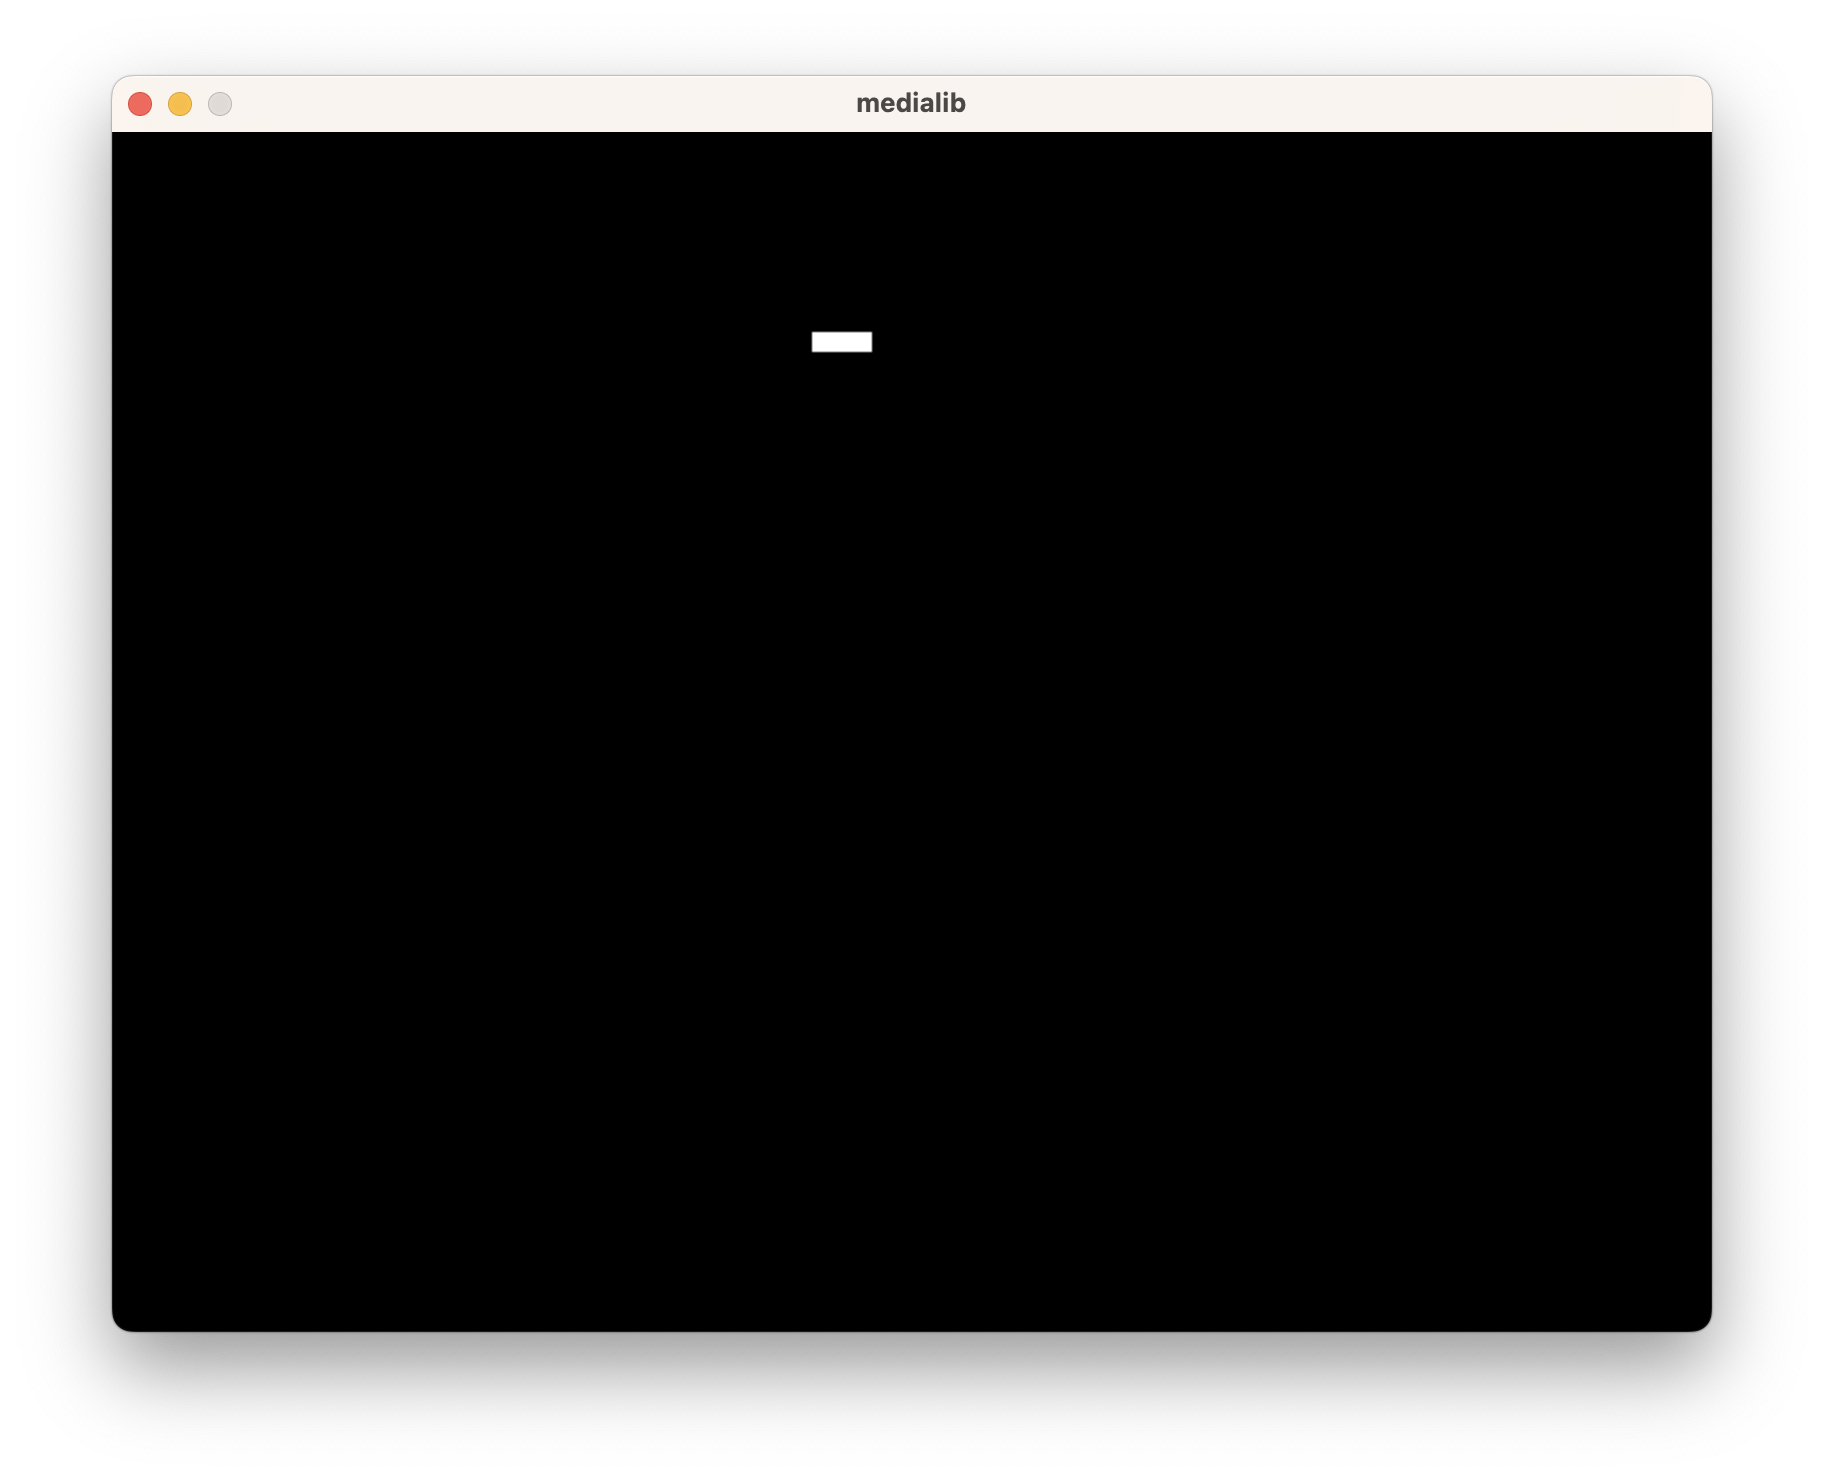
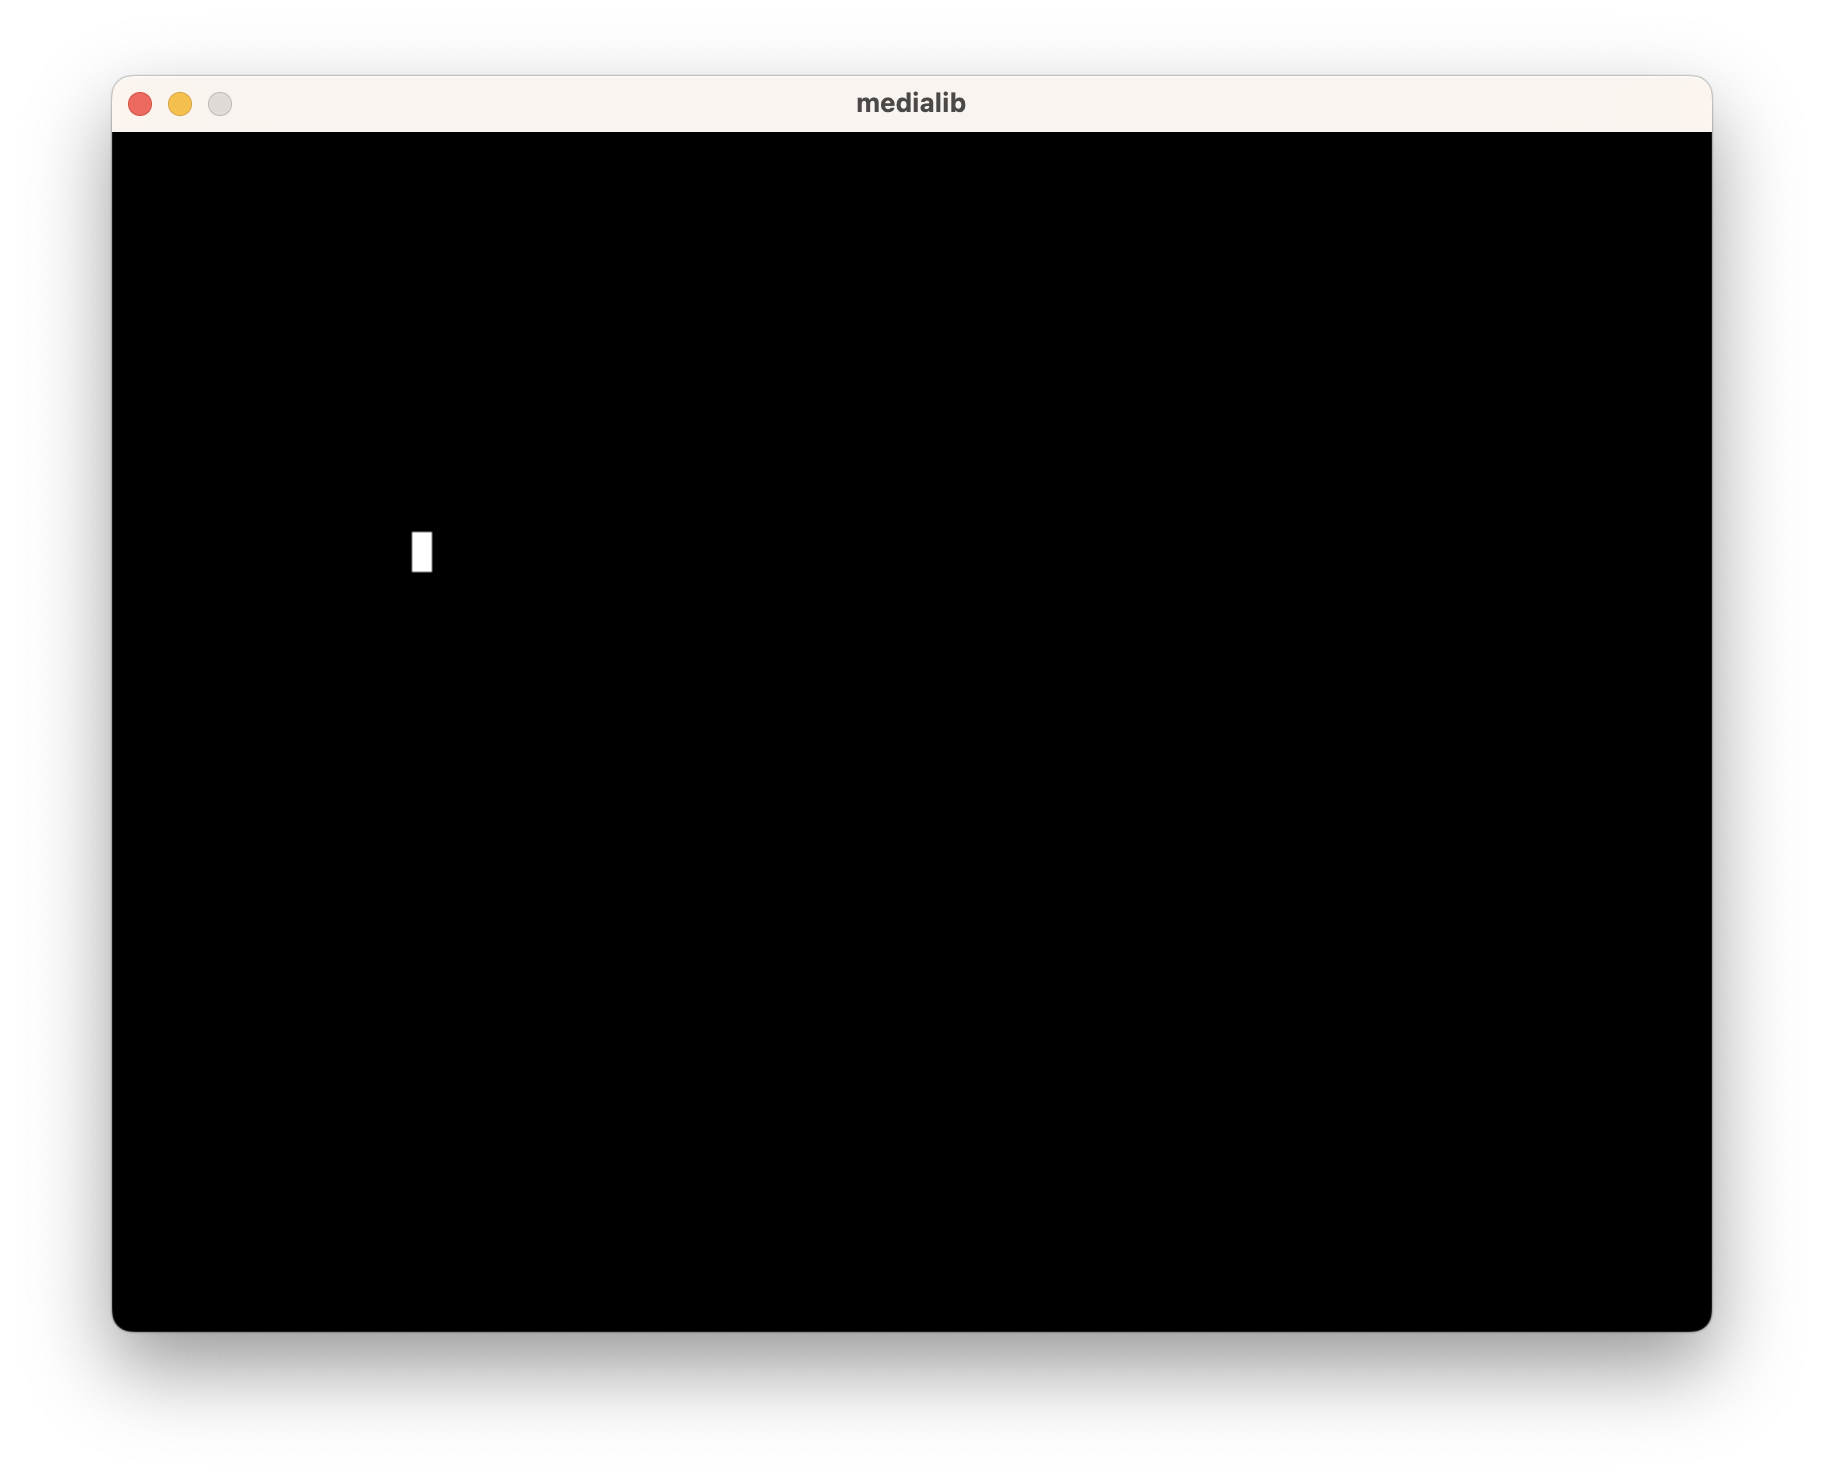
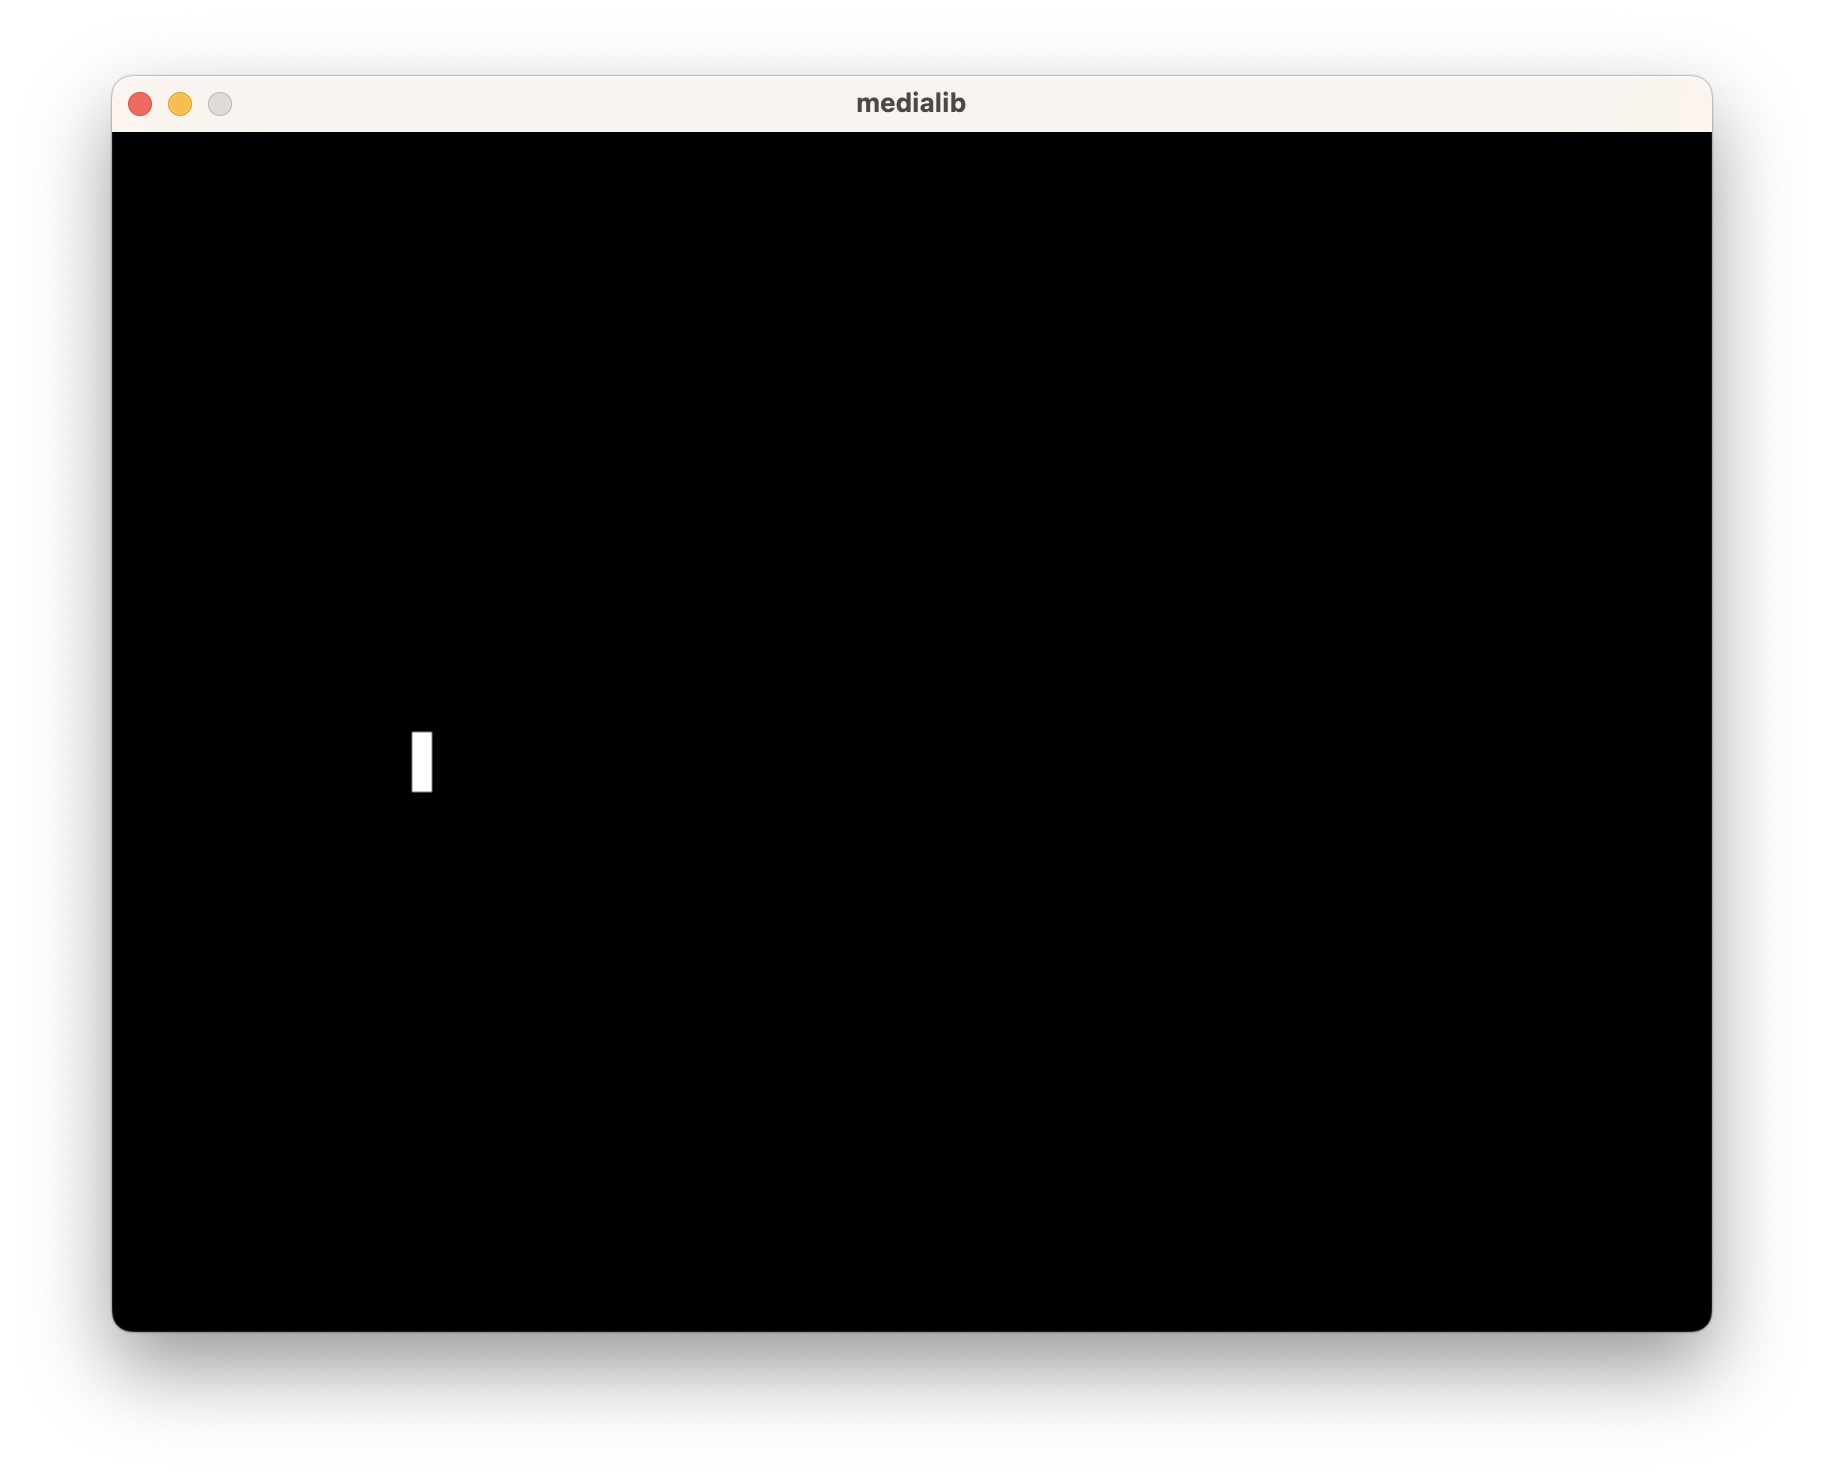
- Write a program using rect() such that each time the mouse is left-clicked, the rectangle moves to the right by 100 pixels and becomes wider. Let
beginningXPosition=150,beginningYPosition=100,length=10andwidth=10. - Write another program using rect() such that each time the mouse is left-clicked, the rectangle moves down by 100 pixels and becomes wider. Let
beginningXPosition=150,beginningYPosition=100,length=10andwidth=10.

Practice 2
Practice 2-0
Learning Objectives
We are going to learn:
- How to use
if
Exercise
Based on the provided code of Exercise 2 of Practice 1-1, make a program that requires the use of input “2” or “3”.
- If the user inputs “2”, two eyes should be displayed on the screen.
- if the user inputs “3”, three eyes should be displayed on the screen.
- If the user inputs something else, nothing should be displayed on the screen.

Practice 2-1
Learning Objectives
We are going to learn:
- How to use
while
The play() and wait_key_press() function
The play() function
play(soundFileName)
Loads the audio file with name soundFileName and plays it.
If the audio file cannot be loaded then no audio will be played and an error message will be printed in the Python console. No exceptions are thrown, and the program will not break even if the audio file is not found.
The wait_key_press() function
wait_key_press()
Pauses the program until a key is pressed (any key).
If ESC, a number or a character is pressed, it will return a character. Otherwise it will return a code.
Example:
k = wait_key_press()
if k=="a":
    print("you pressed -a-")
Exercises
- Draw the picture python_logo.png at (100,100).
- If the 'a' key is pressed, move the image to the left.
- If the 'd' key is pressed, move the image to the right.
- If the 'h' key is pressed, play the file hello.mp3 which says "Hello!".
- If the 'q' key is pressed, exit the program.
Practice 2-2
Learning Objectives
We are going to learn:
- How to draw game backgrounds using strings
- How to use
whileandif - How to use
forto replacewhile - How to draw game backgrounds using lists
Drawing Game Background using Strings
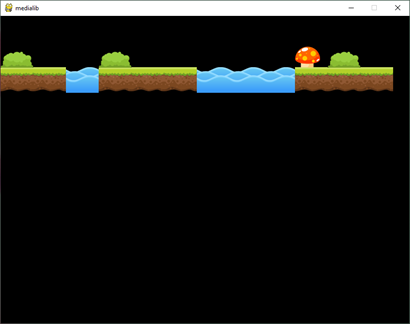
To draw background, you can use strings as a parameter to a function.
eg.trees = " BM B B"andfloor = "GGGWWWGGGWGG".

Exercises
- Finish the code below then change the tiles to have two more mushrooms.
- Reverse the two strings so that the whole image becomes mirrored (as shown below).
- What if we change lines 10 and 11 to
background=[[' ', 'B', 'M', ' ', ' ', ' ', ' ', ' ', 'B', ' ', ' ', 'B'],['G', 'G', 'G', 'W', 'W', 'W', 'G', 'G', 'G', 'W', 'G', 'G']]
Extra Practice 1
Learning Objectives
We are going to learn:
- How to use
forandrange
The wait() function
wait(secs)
This blocking command stops the control flow of the program for a certain number of seconds.
Real numbers can be used for the seconds.
Example:
wait(1.5) ## pause the program for 1.5 seconds
Exercise
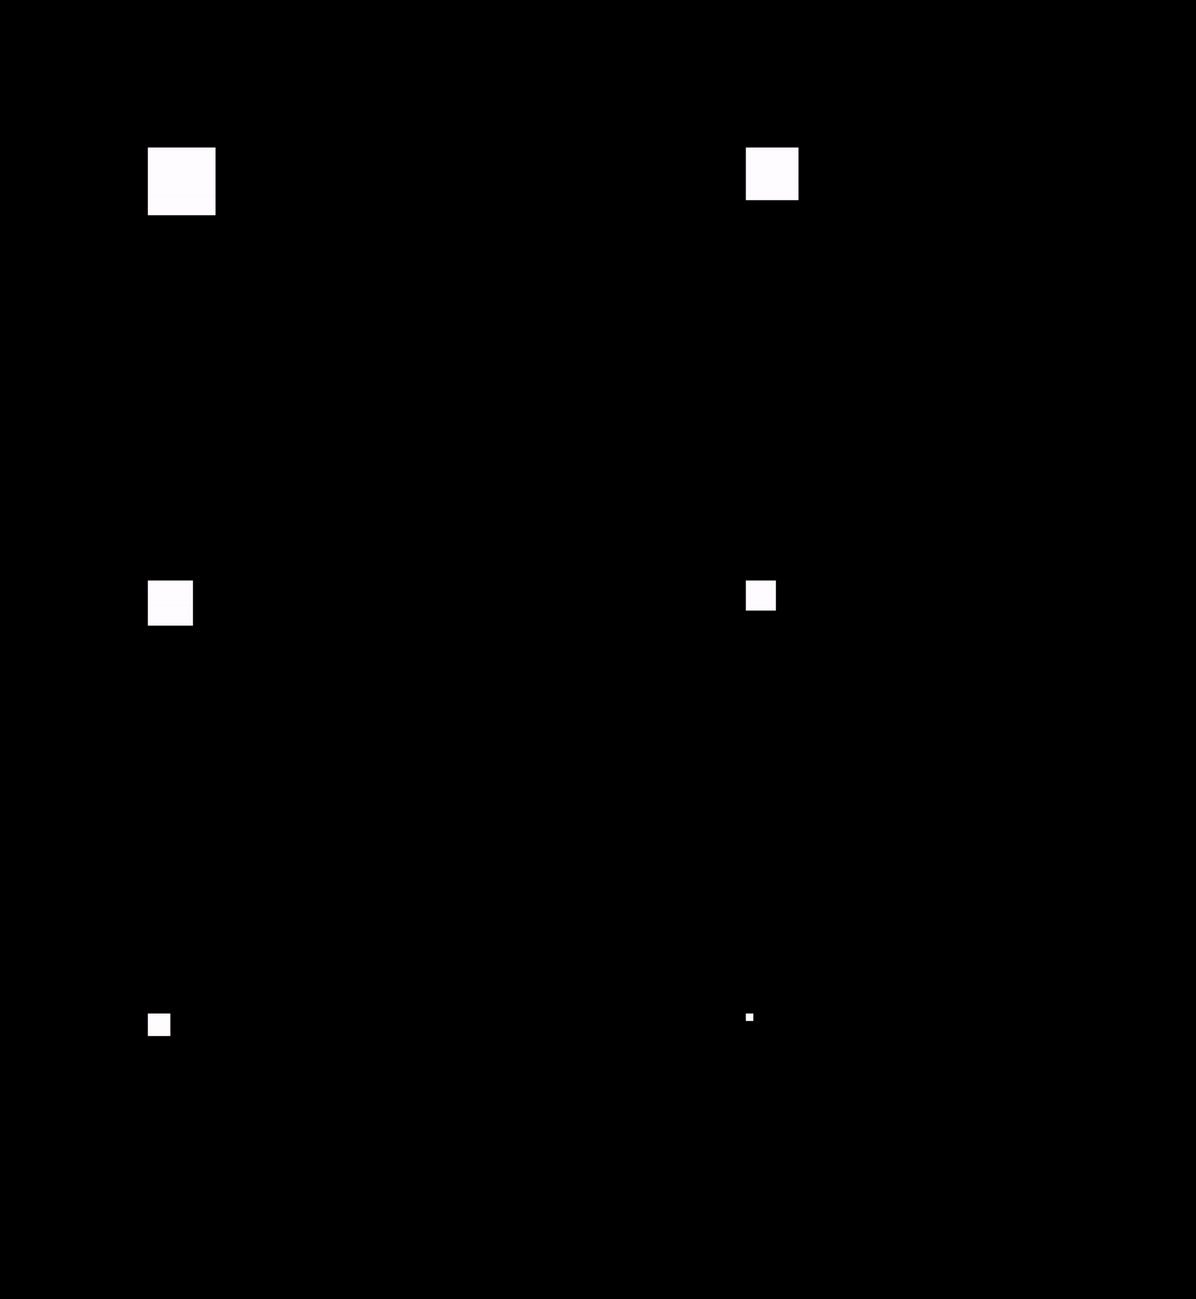
Write a function using for and range to create an animation which draws a rectangle from big to small.
Extra Practice 2
Learning Objectives
We are going to learn:
- How to use
forandrange - How to make use of lists
Exercises
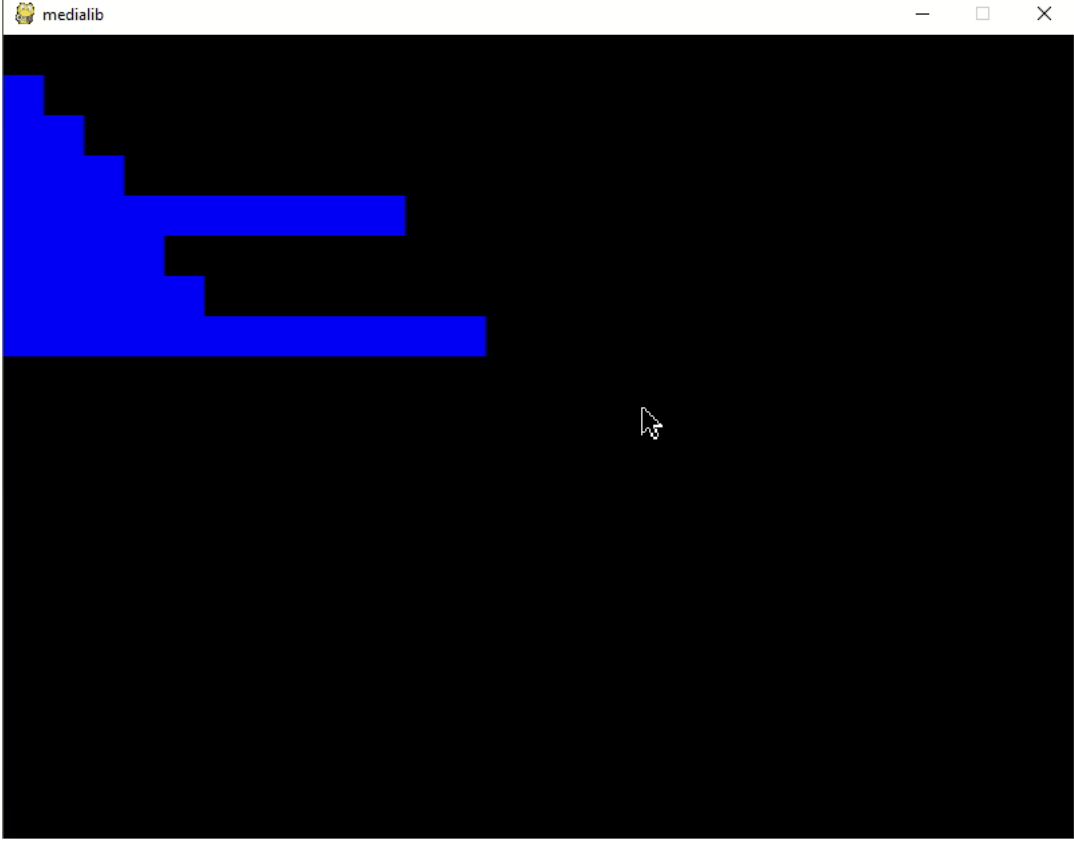
Draw a bar chart which consists of several horizontal bars where the length of each bar is stored in the list named 'values'.
- Add a new element with the value '360' to the end of the list 'values'.
- Let the height of the bar be 30, draw a bar chart which consists of several horizontal bars where the length of each bar is stored in the list named 'values'.
- Try to organize the elements in values from small to big, and then draw the chart again.
Final Exercise
Make use of the images saved in the folder named OneDimensionalGame_imgs to design a mini-game by completing the game.jpynb using Medialib. Apply your knowledge of lists, if statements, for loops and while loops for this task.
The string representing the initial background of the game is 'X-----P--wwwww-----E----X'. Each character of this string represents the name of an image. H.png represents the player's avatar and its initial position as shown in the image below. 'X ' and 'w ' are the locations the avatar cannot pass. Draw the background of the game as shown below where the first image X.png is at (10,200).

If the player pushes 'q', quit the game and print out “Game Over!”
Control the player's avatar:
- If the player pushes 'a', the avatar will go backward (left)
- If the player pushes 'd', the avatar will go forward (right)
- If the player pushes 's' while the avatar is at position P (pressure plate, represented by P.png), then switch on the bridge. This means all images of water (w.png) will be changed to the image of bridges (=.png), and P.png will be changed to _.png.
- Draw the you_win.png at (100,50) when the avatar is standing on Exit (represented by E.png)
- Make sure to take care of illegal inputs.

This work is licensed under a Creative Commons Attribution-ShareAlike 4.0 International License.